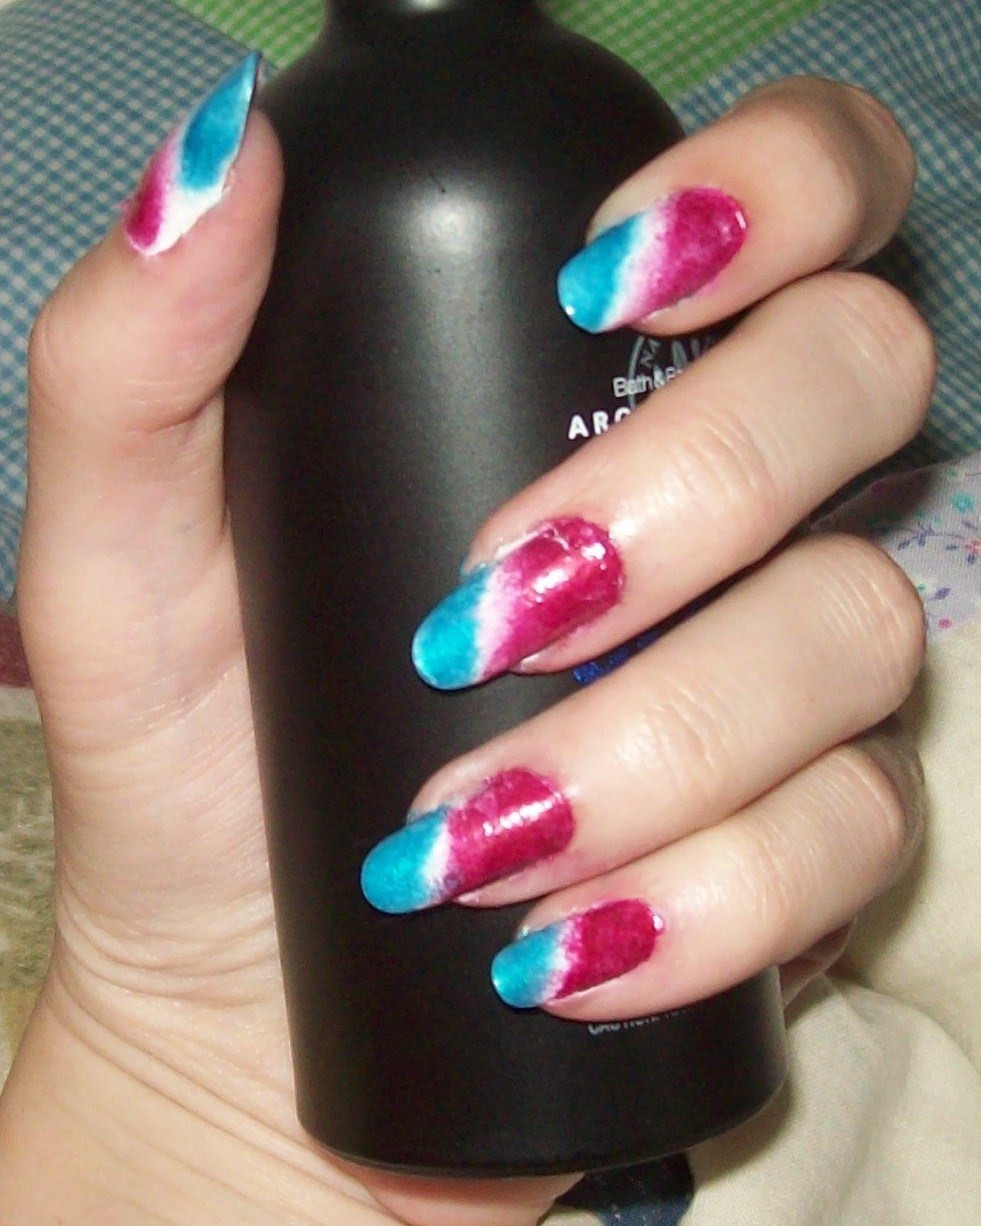
ANYWAY!:
Water marbling! Woohoo! Messy, time consuming, tricky, unpredictable, temperamental, and requires a lot of patience and practice.
Yes, this is water marbling, readers.
Have some pictures:


(top:) Hippy nails, it's a bit hard to see the water marbling because of the peace signs, but you get the picture.
(middle:) The best example of water marbling. Random, colorful, and each nail is unique.
(bottom:) My Del Sol version of water marbling... I never got a chance to get a picture of it in the sun. *sad face* So you have to deal with the "nude" version.
[click on the pictures to enlarge them]
So how does one "water marble"? It's actually a simple idea, it just doesn't come off that way. Here's a tutorial. It's low-quality, but it's very clean on what to do, and it was the one I learned from: Simple Water Marbling
Once you have regular marbling down, you can move on to more elaborate stuff like this one: Fancy-Shmancy Water Marbling
I still can't pull off the latter. It's very hard to do this look... At least for me. Here's the tips I can give you:
1: As the video says make sure your water is lukewarm! Cold water sets the nail polish quickly, then you just wasted a bunch of nail polish, and that sucks.
2: Use common sense- Don't use a drinking glass or anything for this. The nail polish touches the rim of whatever is holding the water, so unless you want to be removing polish from the edge of your cup, just use something disposable. I cut the bottom off of a water bottle and use that.
3: The smaller your cup, the less nail polish you will have to use. This requires a lot of nail polish as you can see from tutorial #2, so don't make yourself use more than you need. Use a smaller cup so the nail polish can't spread out as far, making you need less.
4: Work quickly!!!! The nail polish around the edges can set pretty quickly depending on the room temperature and the water temperature. Drip your polishes as quickly as possible.
5: Pick thinner polishes so that the polish will drip faster.
6: Avoid sheer nail polishes, when they hit the water, they will hardly show up at all on your nail. Pick highly pigmented ones, but make sure that the polish isn't too dense, or the drip of polish will sink straight to the bottom of your cup. Lame.
7: Paint your nail a base color, in case the water marbling doesn't get all over the nail, 'cause you can't patch water marbling. I prefer to paint my nail white before I marble, then the colors show up better anyway.
8: Be patient. This will not go off smoothly every time.
9: Take into account the room temperature around you and the water temperature. The colder it is, the sooner the nail polish will set. And that sucks. I've had to remove the whole drip series because it set before I couldn't put a design in it fast enough and get my nail in there... There are some days where I simply can't do water marbling because the surrounding temperature in the room was too cool.
10: Don't try for perfection. It's not gonna happen. There will most likely be some bubbling, or some nail polish may overlap on itself when you're pulling your finger out of the water and make a gross mess, but you can either deal with it, or take it off and do that nail all over again.
11: Remember to pull the excess polish away from your nail before pulling it out of the water. The excess polish might catch on the nail on it's way out of the water, then messing up your initial design.
12: Have fun with it and try new things.
13: Keep a paper towel nearby to clean off your pin that you use to swirl your nail polish. Polish gets caught on there really easily.
14: Don't forget to clean out the excess nail polish out of your cup after each nail you marble. It's usually set by now anyway. Just take your safety pin and swirl it in the nail polish until all of it has stuck to the pin, then just wipe the polish off.
15: Give your nails time to dry. Sometimes it takes longer for your polish to dry when you water marble. Remember to shake off the water from your finger.
16: Pick very different shades of colors. My favorite combo is dark blue and neon green. I might try my most favorite color combo ever (neon green and black) sometime. I haven't tried it yet, but that may be the next option.
Well, those are all the tips I can come up with at the moment... I'll add to the list if I think of more. Just remember to be patient. I still can't do this look easily. I only do it like, once every 4 months or so. It uses a lot of nail polish, so don't use your nail polish that is running out or limited edition or something unless you're willing to sacrifice a lot of polish for a temporary look. With proper care, I'm sure this could last a while, but I change my nails once a week, so I'm not going for long-lasting... But anyway, have fun, enjoy the experience, practice it, be patient, and look at more tutorials if the ones I put up aren't clear enough. There's oodles on youtube.
As always, if you try the look, take a picture and send me a link, 'cause I wanna see! And don't hesitate to ask any questions, just check back in a few days to see if I've responded to you.
Now... I need to get to bed. I'm looking at less than 4 hours of sleep now. I have church in the morning... I knew I should have started a post on Water Marbling right before bed time. I should have been asleep 40 minutes ago... But that's okay! I'm sacrificing my sleep for you guys (you'd better appreciate it...), and I'm getting donuts tomorrow! Yaaayyy!! :D
Good morning! *falls over and passes out* ZzZzZzZzZzZzZzZzZzZzZzZzZzZzZzZzZzZzZzZzZzZzZzZzZzZzZz...